Lean Windows 11 runs really fast even on old hardware
For many of us who still have an older computer, the hardware requirements of Windows 11 are a real nuisance. TPM 2.0, Secure Boot, a Microsoft account, all this has often made upgrading more expensive than it should be.
But there is an elegant solution that also makes old hardware fast again and gives you more control over your system: Tiny11.
What is Tiny11?
Tiny11 It's basically a stripped-down, minimalist version of Windows 11. It is based on clever scripts from the Open source project tiny11builder, which is a free Microsoft tool called oscdimg.exe use. This tool creates a sleek version of a normal Windows 11 image.
The big advantage? The Tiny11 version ignores the strict hardware requirements such as TPM 2.0 and makes the Microsoft account optional, so that you can continue to use your system with a Local user account can use.
The scripts also remove a lot of unnecessary software that Microsoft comes with by default, such as the Newsfeed, Games, Edge, OneDrive, and Teams. The pre-installed Office components as well as Clipchamp, the MS Store or the Mail app are no longer pre-installed. This not only makes the entire operating system lighter, but also saves valuable hardware resources during operation. If you need one of the deleted applications later, you can reinstall it at any time.
Important to know: There are two versions. The standard version (tiny11maker) maintains the update capability and thus continues to enable security patches and function updates.
The so-called core version (tiny11coremaker) is even lighter, but completely dispenses with this update function, it is therefore intended more for experts or developers and not for the normal home user.
Step-by-step instructions for creating the installation media
Learn step by step how to create your own Tiny11 installation media. However, you also need a Windows 11 PC, because the script must be executed there.
- Preparing files
- Load the current Tiny11 script archive from the official GitHub page.
- Create a new folder on your PC, for example
C:\t11\. - Unpack the downloaded archive into this folder.
Tip: Do not take tiny11 as the name, because the script will create this folder itself during the creation of the stripped down ISO and if there is already data in it or the folder has been created with other rights you will get error messages.
- Get Windows 11 image
- Download the official, current Windows 11 image (ISO file) directly from the Microsoft website.
- Integrate the downloaded ISO file into your system. This is very simple: Right-click the file and select from the context menu ‘Deployment’ means: or ‘Integrating’ off. The ISO file now appears in Explorer as a virtual DVD drive with its own drive letter.
- Running the Tiny11 script
- Open this PowerShell Terminal with Administrator Rights. To do this, right-click the Windows button and select from the context menu ‘Terminal (administrator)’ off.
- To start the script, you must adjust the execution policy once. To do this, enter the following command:
Set-ExecutionPolicy unrestricted - Change to the directory where the scripts are located:
cd C:\t11\(In my example from above) - Now you have a choice. Enter the command for the desired version:
- For the standard version (recommended):
.\tiny11maker.ps1 - For the core version (experts):
.\tiny11coremaker.ps1
- For the standard version (recommended):
- Follow the instructions in the terminal window. The script will ask you for the drive letter (specify only the letter) of the embedded ISO file and the desired Windows variant, which you then select (by entering a number).
- Open this PowerShell Terminal with Administrator Rights. To do this, right-click the Windows button and select from the context menu ‘Terminal (administrator)’ off.
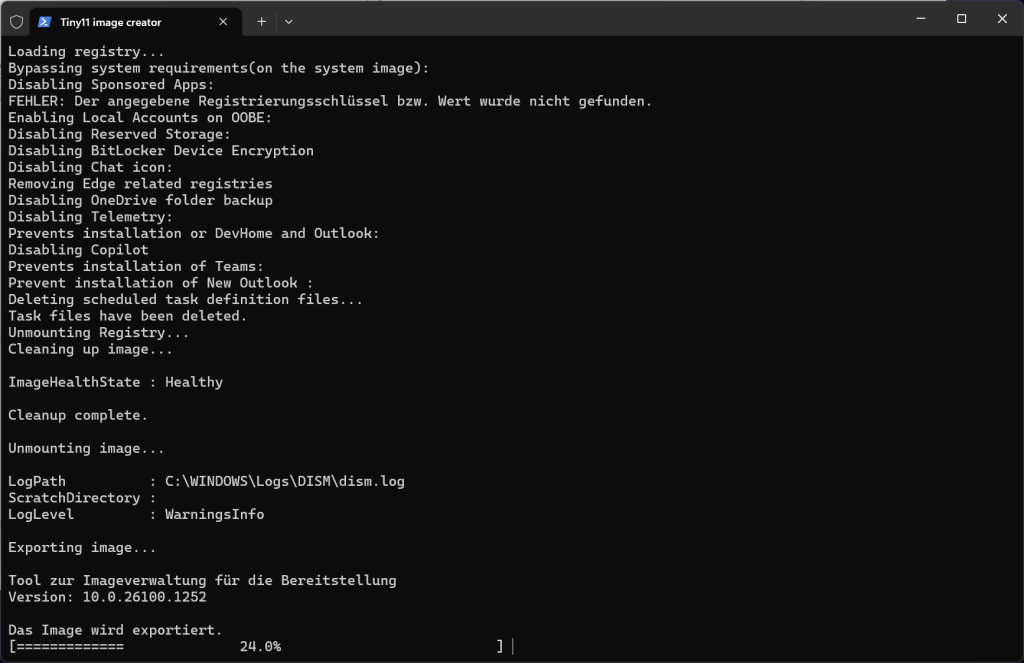
After these steps, the script begins to create the new, stripped-down image. This process takes a few minutes. There may be some error messages in between, e.g. missing registry keys, but you can simply ignore them. The fun lasts on an older NVmE about 5-10min, SATA SSD possibly twice the time and on HDD just longer, so have a little patience. In the end you will find the finished tiny11.iso-File in script directory.
Let's rewind a few minutes before:
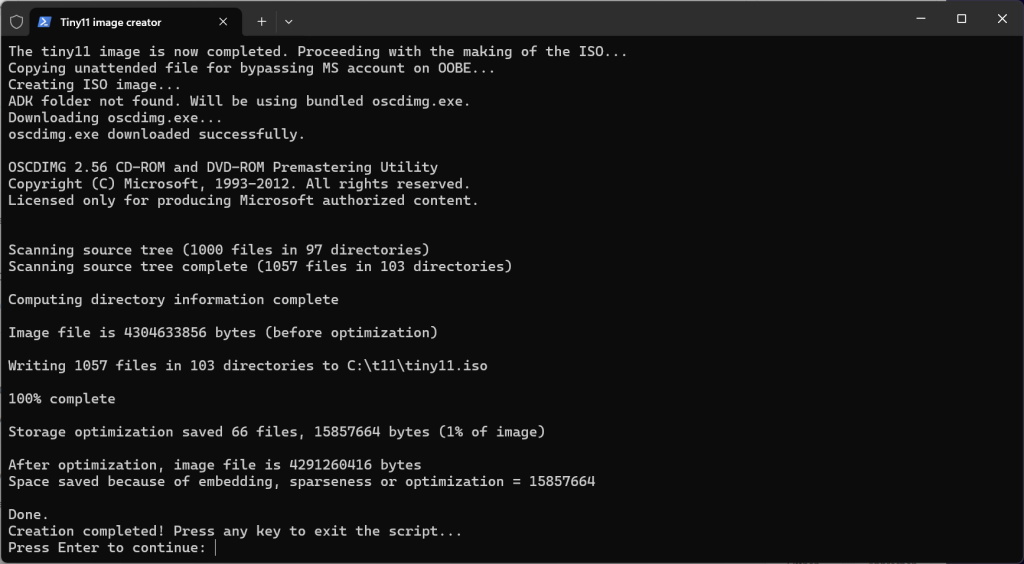
As soon as you press a button, temporary files are cleaned up and then you have your finished image as ISO. If the folder C:\t11\ was then the newly created tiny11.iso is now also there.
Congratulations on half-time! ⁇
Important note: To prevent unattended mist from any malicious software on your computer, please set the Windows execution policy back to ‘Standard’ via the Administator Powershell after the ISO file is ready.
This can be done with this command: Set-ExecutionPolicy Default
If you want to take a closer look at this topic, I recommend the following reading on learn.microsoft.com.
So, now you can also close the Powershell.
Put Tiny11 on a USB stick
The finished image must now be transferred to a bootable USB stick if you want to set up a separate computer with it.
Sidenote: VMs can be easily created directly from the newly created and integrated ISO image. If the installation fails the first time (directly after creating the partitions) simply restart and if no partition can be found is the solution for Hyper-V, Proxmox, VMware and the Oracle VirtualBox Integrate the VirtIO driver manually during installation. Oh, and if the installation gets stuck in the black screen for more than 5 minutes, just turn it off and on again, done.
Now further in the text for the bootstick creation:
- Download the free tool Rufus down.
- Connect a USB flash drive to your computer. It should be at least 8 GB.
- Open Rufus and select the
tiny11.iso-File as installation medium. - Important note: Here you have to choose the right firmware for your target computer in partition scheme and target system.
- GPT/UEFI: Modern computers, which are about 10-15 years old, usually use this combination.
- MBR/BIOS/Legacy: Very old computers that still have BIOS firmware need this setting. If in doubt, make sure to select the correct option in Rufus, otherwise the installation will fail.
You have absolutely no idea which mode your PC uses?
To find out if your PC is using UEFI or MBR to boot, open the system information (Windows key + R, then msinfo32 enter) and check the value at "BIOS mode" -> here is either "UEFI" or "Legacy".
A reference to UEFI is also when the C:\ disk is formatted as GPT (GUID Partition Table), which you can check in Disk Management.
All the other options the Rufus after a click on ‘launch“ You can simply remove the offer at the bottom right, as the Tiny11 script itself has already done everything important. (y)
The transfer to the stick can take a few minutes depending on the speed of your PC and USB stick. Time for a coffee ⁇
installation
Once you've prepared the USB stick, you can use it to start your target computer. The installation itself works the same way as a normal Windows 11 installation.
After the successful installation, you will notice that Tiny11 consumes significantly less resources. On a 10-year-old test device with only 4 GB of RAM, idle memory usage drops from 80 percent for a regular Windows 11 installation to only 45 to 50 percent for Tiny11. This makes it possible to work much more smoothly, even with several applications at the same time.
Note: There is a small drop of wormwood: Tiny11 removes the Edge browser by default. It is therefore advisable to keep the installation file for your favorite browser on the same as on the installation USB stick to reload it immediately after installation. Without a browser, you won't be able to download anyone else on the system! If you set up several systems and already know in advance which other applications are needed, pack them with it. The VirtIO drivers also make sense to have in stock if you want to try Tiny11 in a VM.
Conclusion:
Tiny11 is a great solution for reusing your older hardware and finally regaining control of your operating system.
It creates a lean, fast and resource-saving version of Windows 11 that eliminates unnecessary software and gives you the choice of whether you want to use a Microsoft account.